Showing posts with label yellow. Show all posts

Saturday, 16 February 2013

Recent Nails


In honour of Valentine's (I hate the holiday but I couldn't help myself) 


Candy Stripes. 

Friday, 18 January 2013

Pink and Blue blossoms on Yellow


I have done this design before I tried with different colours and it looks so cute!
One of my faves.

Saturday, 12 January 2013

Tribal Print

I booked a holiday to indonesia yesterday for August and I'm so excited!
I did some tribal inspired nails for the occasion as they are quite summery and its a worldly design. 
I just used a base colour and my pens to do different designs using pinterest and the new topshop collection (below) for a bit of inspo. 


The designs are quite busy, and I think in this case less would be more, but you don't know until you try! 


Monday, 7 January 2013

Holiday nails!


Sorry I haven't posted in a while but yet again Uni calls! 
I did these leopard print nails whilst in Goa, and they got a good few likes on insto, so I thought I would share! 
The design is from the WAH nail art book. 

Thursday, 1 November 2012

Neon Mani


I did these using my neon pens, just painting the tips. 
I prefer the yellow which I'm going to try on a full hand. 


Monday, 22 October 2012

Cath Kidston inspired nails


I did these by applying a base coat, adding a straight white line in the middle, dotting white along the line, and then adding flowers. They are done by randomly dotting large dark pink, and lighter smaller pink dots on top. Add some little leaves with a brush and enjoy your cath kidston style nails!

Sunday, 30 September 2012

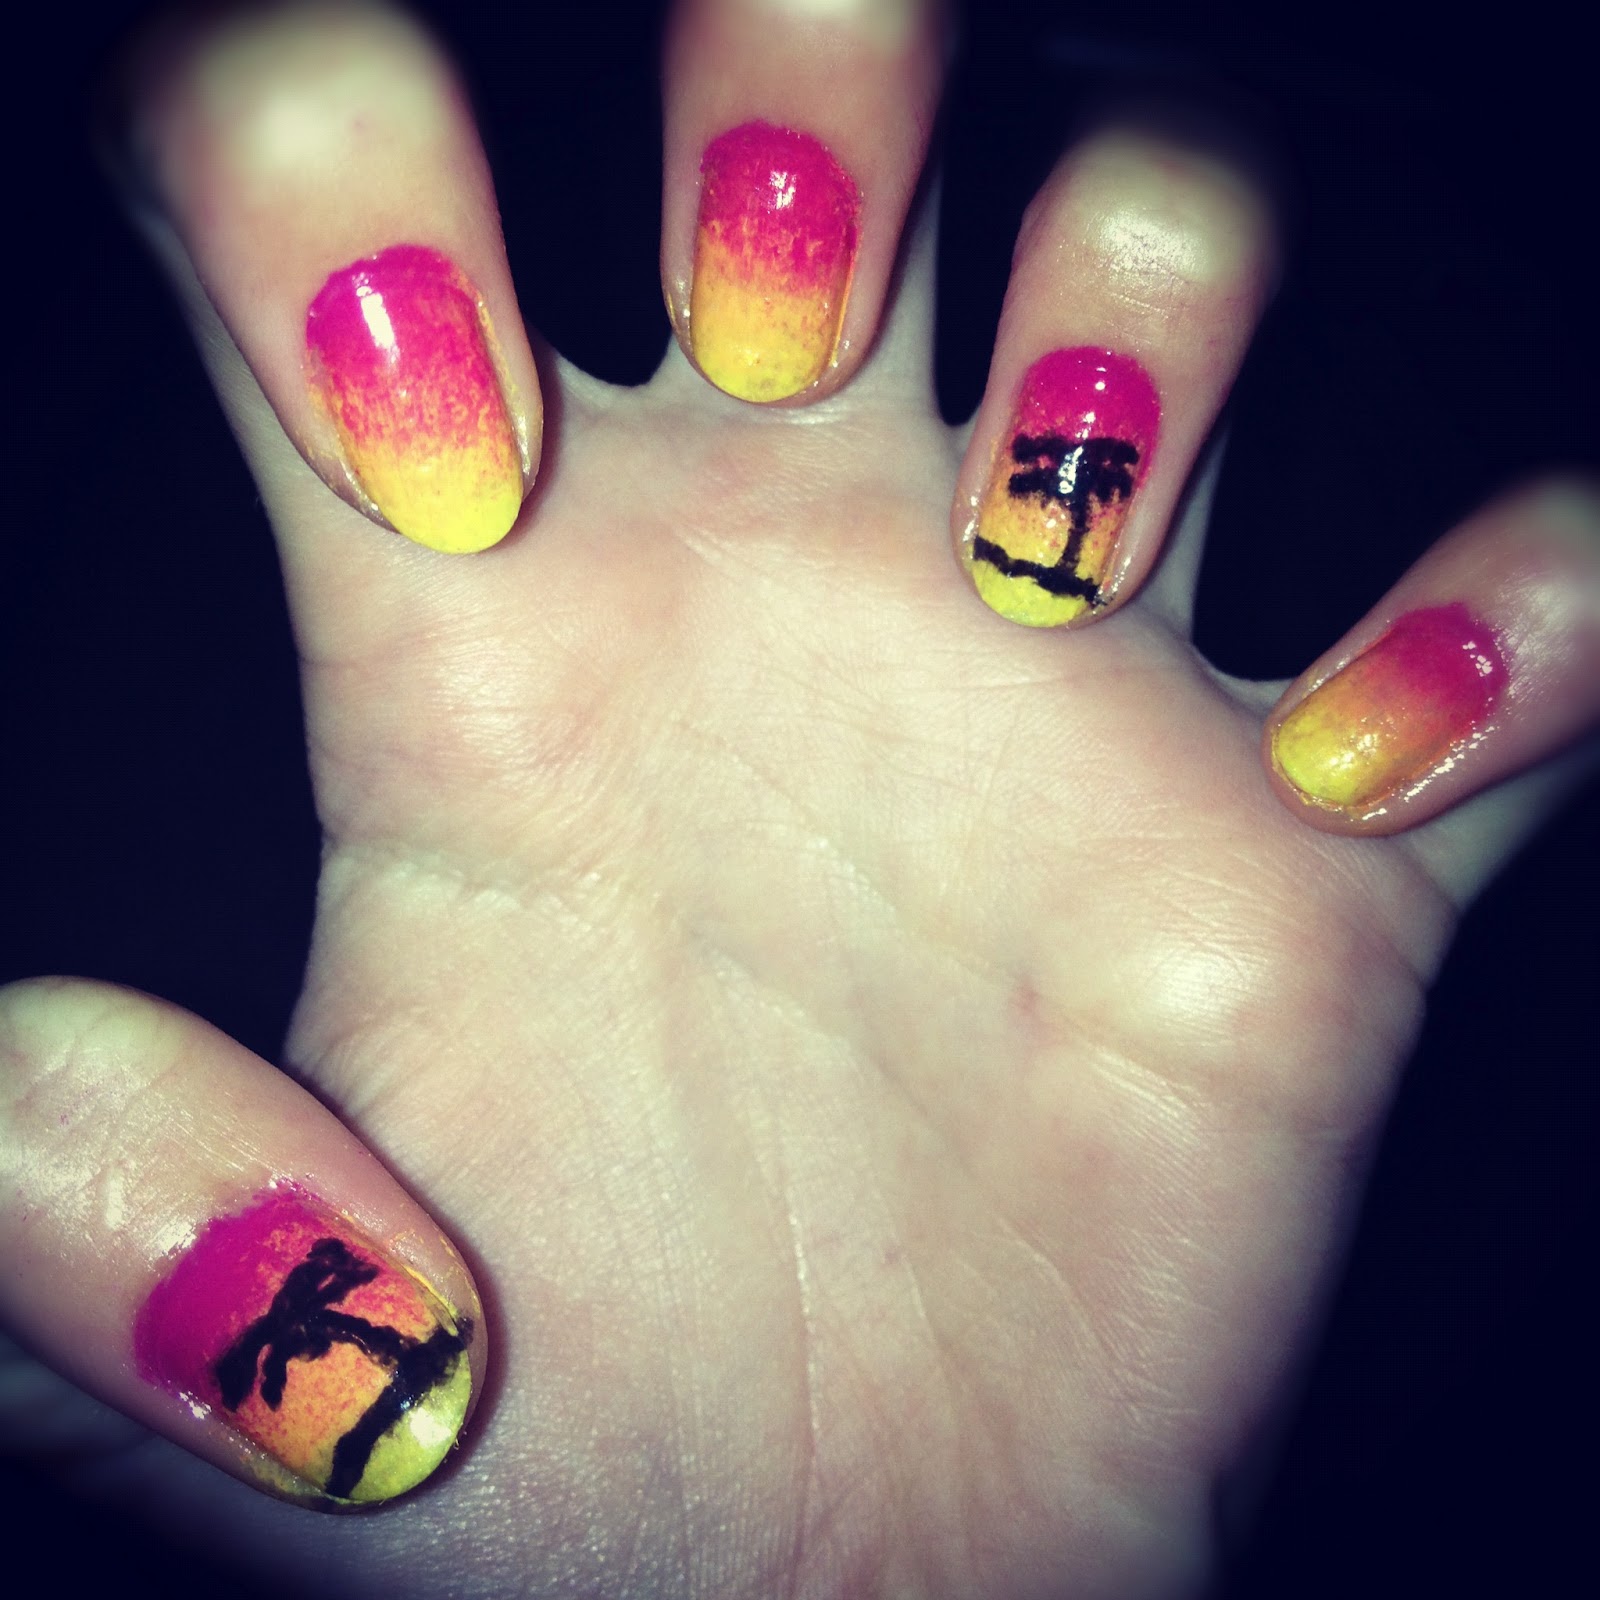
Palm Tree Sunsets


This picture quality is shocking but here are my most recent nails. 

Gradient pink to orange to yellow, with palm trees painted over the thumb and ring finger. 

Managed to do this on both hands which I was pleased with! 

Hope you like! 

Saturday, 22 September 2012

Colourful Gradients and Mixed designs


People need to understand how simple it is to do gradients!

Yes, it can get messy but to get a look this effective? who cares!

I love all the different colours fading into each other, and the designs on top just give it something extra.

I'm definitely going to try this again with the same design on each nail as this can look a bit busy, I can just never decide on one thing!

Rainbow Dots


I did these using a dotting tool and tape to do the line at the bottom. 

They remind me of an artists painting palette, love the bright colours.

Tuesday, 18 September 2012

Spotty Clusters


These were inspired by some nails I saw on a nail board on Pinterest (below). 

I did the base coats and then did the spots using a dotting tool. 

Its so simple and easy to do and looks quite effective, love them!


Saturday, 1 September 2012

Festival Nails


I'm going to a festival this weekend and these are the nails I decided to do!

They are pretty simple so I am able to do them on both hands (unskilled left hand)

I used a sponge to do the gradient red/orange/yellow and green nails, then did patterns over the top, leopard print and a peace sign, with a black tool and left the ring finger a plain metallic to break it up a bit. 

Hope you like them, have a good weekend guys!

Wednesday, 29 August 2012

Hello Kitty Nails

My little cousin loves Hello Kitty, so when I told my Auntie I could do the design on nails, she had me do them for her, my cousin loved them!


the pinky went a bit wrong!

Wednesday, 22 August 2012

Zig Zags and Stripe Brights


Here is the first post on the New Stray Nails blog!

I'm gonna show you how to create the nails that are in my title photo (this will probably change in future so forgive me if its not that same). 

I watch a lot of video tutorials on how to create cool nails and one user that I'm subscribed to is Cute Polish, her videos are always helpful, simple and really effect. You can look at the video I used to do this design here.

First paint your nails with a base coat and the colour that you wish to use under your stripes. I went for bright colours and I mixed the ring finger with the colour from the opposite hand.

Then take some cello tape, preferably scotch tape so its not shiny. Paint the colours you want to use for the stripes on this.
I did two coats to make it more opaque.


Then once this has dried, cut thin strips of each colour. 


If you want to do zig zags, you'll need pinking sheers to create the effect.


Then neatly place the strips onto your already colourful nails and taa-daa!


Make sure you put on a top coat to make the polish last.

I hope you like it!